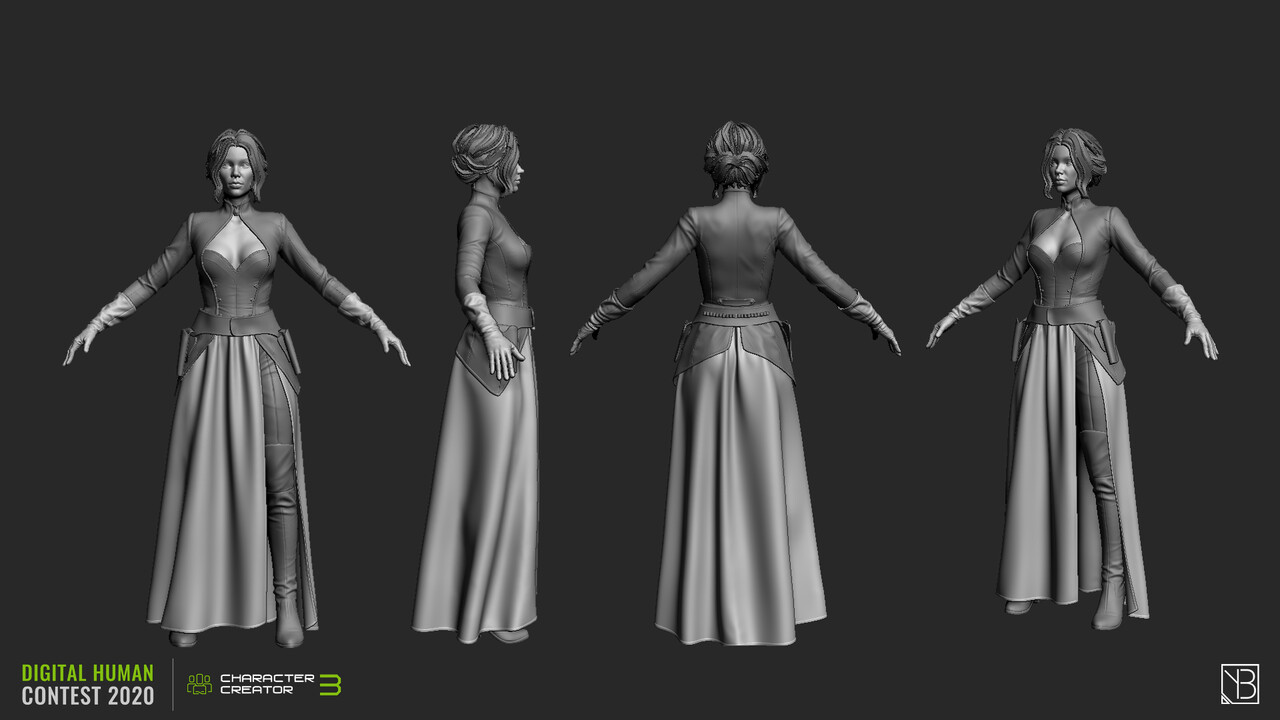
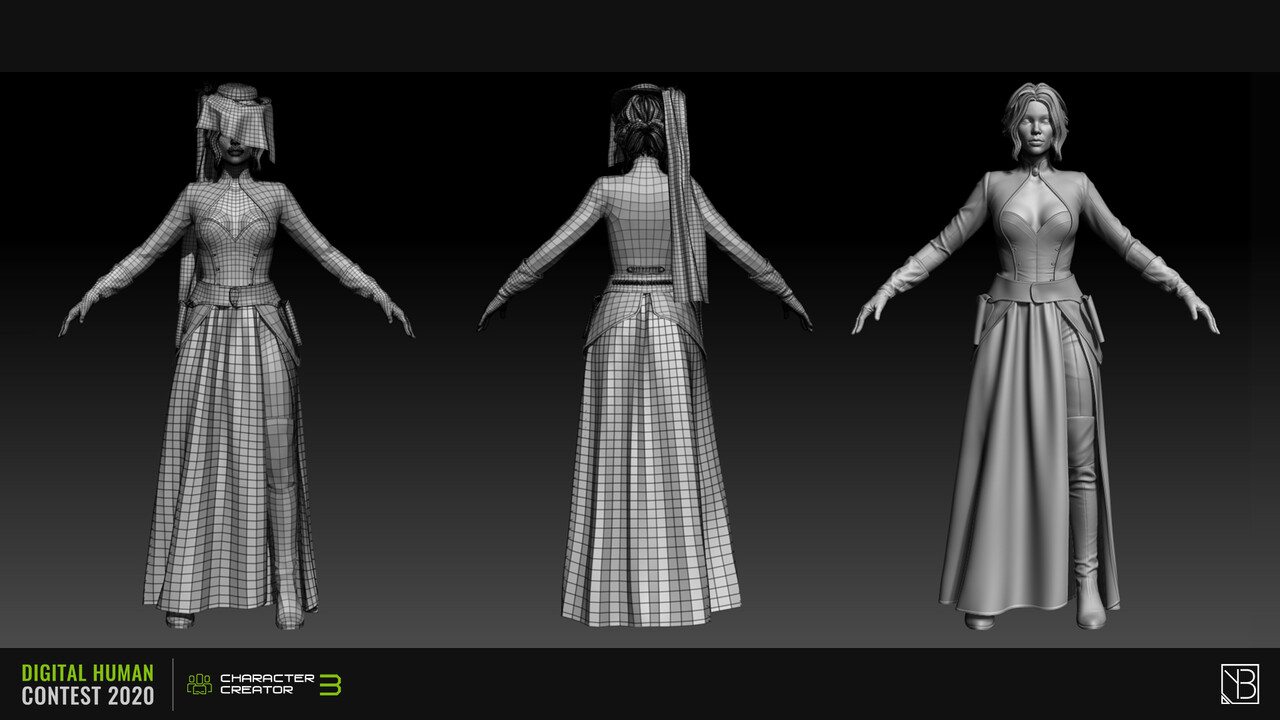
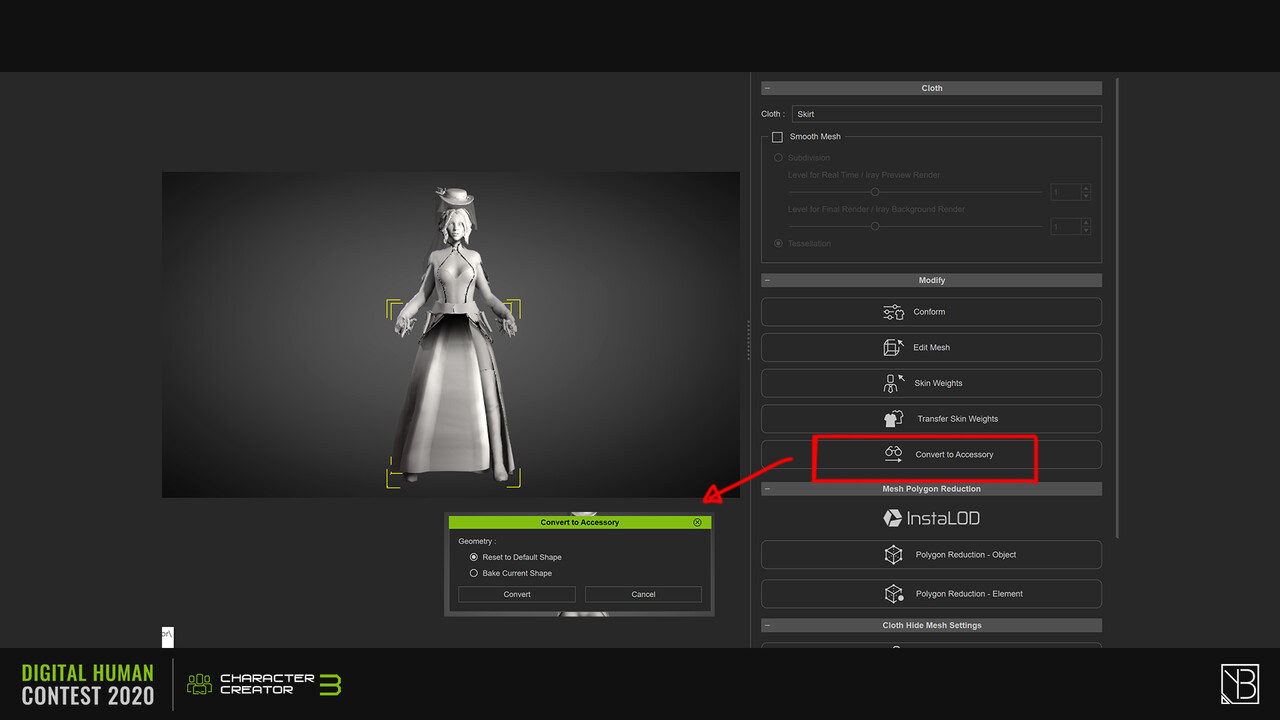
Before I start with adding more details and changes, I wanted to play around with Character Creator and iClone to test out how everything is working. Amazing to see how easy it is to get from this very early stage, already to the lookdev and enjoy pretty much an unbreakable back-and-forth method. Just by couple mouse clicks, everything is automatically imported into the Character Creator scene and it works the same if you want to import your stuff back to Zbrush. Also, automatic weight painting works very nice and easy. However, it doesn't work well with very long dresses or skirts. I think it won't be a huge problem to fix the weights if the skirt was up to the knee height, but in my case, I should probably weight paint my skirt manually in Maya.
Important things to note:
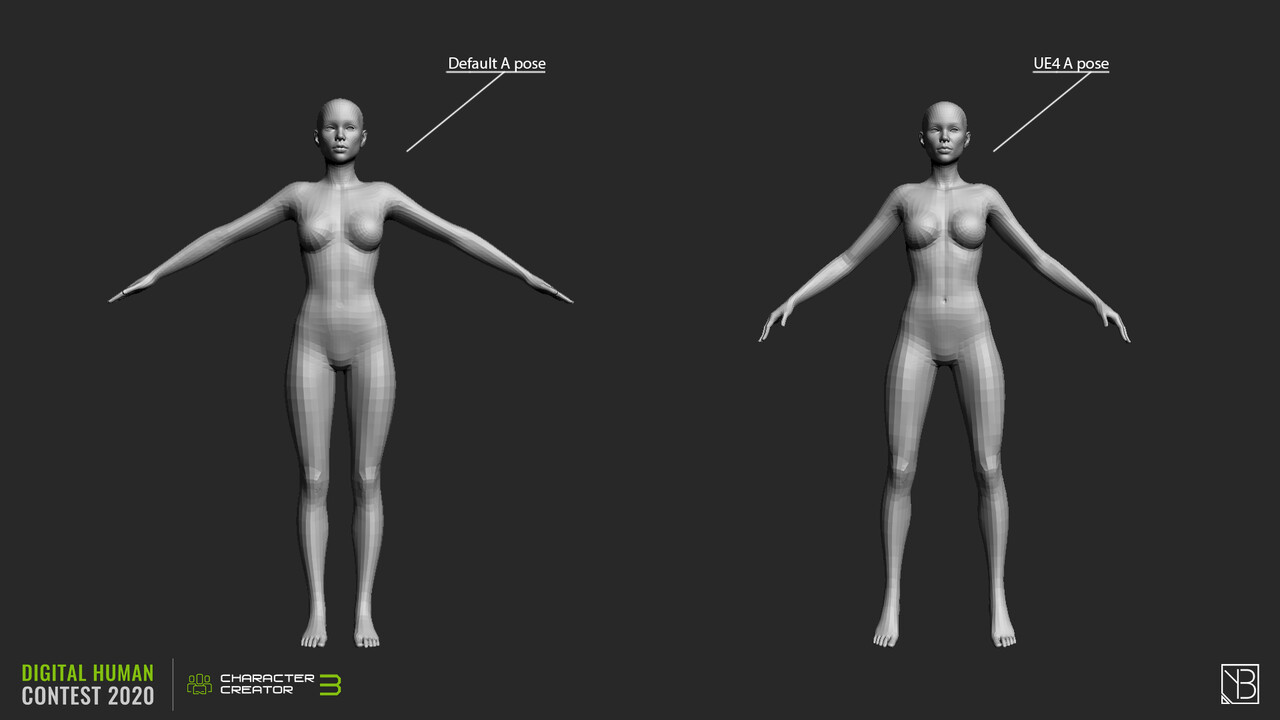
When I tried to re-import the meshes from Zbrush to CC, all my clothing and the rig were broken. I guess it's because I initially imported the base body mesh from CC to Zbrush with the default A pose. Unfortunately, I think that default A pose makes it difficult for me to sculpt and/or simulate clothing on it. The arms are too straight. The legs and finger are too close to each other. So, I applied UE4_A_pose that you can find in CC's content library.
First thing first, if you want to GoZ another pose, you should probably use Layers in Zbrush. So, if you want to make any changes to the face and body later, you can always set back the default A_pose to re-import your character without breaking the rig.
Conclusion
Looks like there are so much more things to explore and I'm excited to play around after finishing the modeling and texturing stages. My next goals would be, to work further on my characters face and clothing. Then apply the xyz textures and use substance painter for texturing the clothes etc.
iClone animation test:


